
Selecting Snowboard Bindings
Last Updated: October 11, 2026
Snowboard bindings connect your boots to your board and translate your movements into turns. The right pair should hold your boots securely without pressure points, match your riding style, and work with your board’s mounting system. You do not need the stiffest or most expensive bindings to ride well; you need a setup that fits.
Start with the boots you already own or plan to buy. Check the binding maker’s size chart, then place a boot in the binding to see whether it sits centered on the footbed. The heel should settle into the heel cup, and the straps should close comfortably without being stretched to their limits.
Next, think about where you ride. A softer flex feels forgiving for learning and park laps, while a firmer binding can give confident riders more support for fast turns. Medium-flex models are a versatile starting point when you ride a mix of terrain.
Finally, confirm that the mounting disc works with your board’s insert pattern. Binding compatibility varies by model and brand, so check the current specifications before buying. Below, we break down fit, flex, construction and the features worth paying attention to.
Skating Style
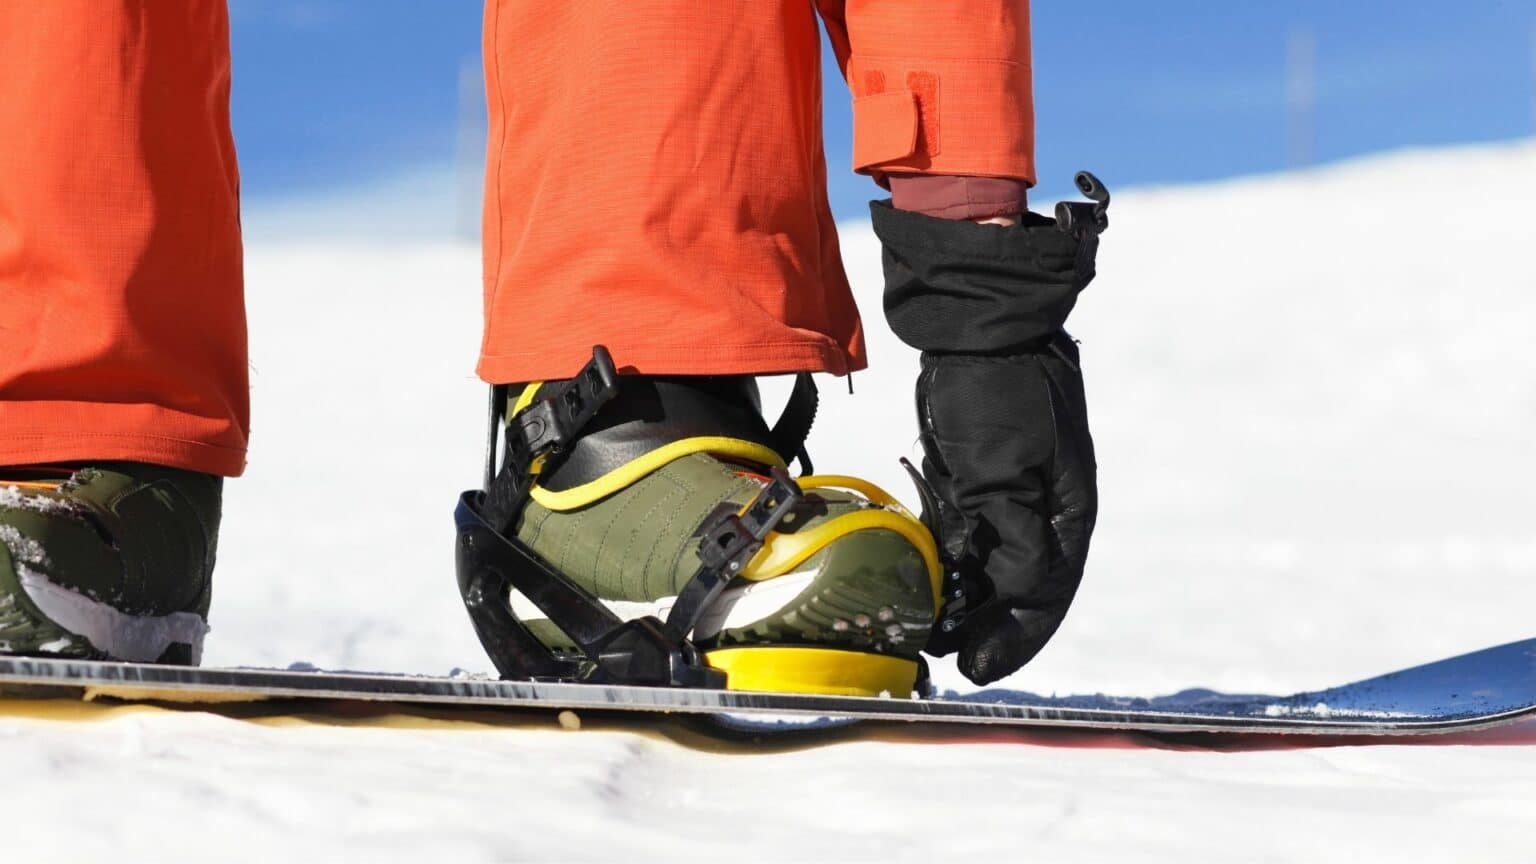
Your preferred terrain is a useful guide, but it is not a strict rule. If you are still learning, prioritize comfortable straps, easy adjustments and a flex that does not feel overly demanding. A binding that feels predictable helps you focus on balance and edge control.
For park riding, many riders prefer a softer or medium flex that allows easy movement and absorbs landings. For all-mountain days, a medium flex offers a balance of support and forgiveness. Riders who spend more time carving at speed or exploring steep terrain may prefer a firmer response.
Consider your boots and board as part of the same setup. A very stiff binding paired with a very soft boot can feel inconsistent, while a softer binding may not provide the support you expect from a stiff board and boot. Flex ratings are not standardized across brands, so treat them as a starting point rather than a precise comparison.
If you switch between groomers, powder and the park, there is no need to buy a specialized binding for every occasion. Start with a well-fitting all-mountain model and adjust the straps, highbacks and stance to suit how you ride.
Stiffness Assessment
Binding flex describes how readily a binding responds when you move. Brands commonly use a numbered scale, but a “5” from one manufacturer will not necessarily feel like a “5” from another. Read the maker’s description and, if possible, compare models in person.
Soft-flex bindings tend to feel more forgiving, making them popular with beginners and riders who value freedom of movement. Medium-flex bindings balance comfort and response for varied terrain. Stiff bindings respond more directly to input, which some experienced riders appreciate when carving or riding fast.
Flex alone does not tell the whole story. The highback, baseplate and straps all affect how a binding feels. So do your boots: a supportive boot can change the feel of a softer binding, and an ill-fitting boot can undermine even a premium setup.
Choose a flex that fits your current riding rather than the riding you hope to do someday. If you are unsure, a comfortable medium-flex binding is often easier to adapt to than an especially rigid one. Try your boots in the bindings and check that you can bend your knees naturally without painful pressure.
Weight recommendations are not a substitute for fit or manufacturer guidance. Use the maker’s boot-size chart first, then inspect the fit on your board. With the boots secured, look for reasonable toe and heel clearance and make sure the straps sit in the intended positions.
Baseplates may use reinforced plastic, composite materials or metal components. These choices can affect weight, durability and feel, but there is no universally best material. Focus on reliable construction, replacement-part availability and how the binding fits your boots.
Park or Freestyle
Park and freestyle riders often favor bindings with a softer or medium flex. A more forgiving feel can make presses, spins and smaller adjustments easier, while cushioning helps take the edge off repeated landings. Personal preference still matters: some riders want firmer support even in the park.
Look for comfortable straps that stay centered on your boots, a highback that permits the movement you want, and buckles you can operate with gloves. If you also spend time on groomers or occasional powder days, a medium-flex freestyle or all-mountain model can be a practical compromise.
Allmountain
All-mountain bindings are designed for riders who enjoy a little of everything: groomed runs, occasional park laps and changing snow conditions. Most offer a balanced flex and adjustable features that make it easier to fine-tune the fit. If you are buying your first pair or do not have one dominant riding style, start here and prioritize boot compatibility over labels.
Freeride
Freeride bindings usually emphasize support and quick response for riders who prefer steep terrain, stronger turns or higher speeds. A firmer highback and baseplate can make the setup feel more precise, especially when paired with supportive boots. Firmer does not automatically mean better: choose a flex you can control comfortably.
Check the manufacturer’s fit chart and mounting compatibility just as carefully as you would for any other binding. Secure straps, dependable buckles and adjustability matter more than a long list of technical-sounding features. If you ride mixed terrain rather than exclusively freeride, a responsive all-mountain binding may suit you just as well.
Types of Snowboard Bindings
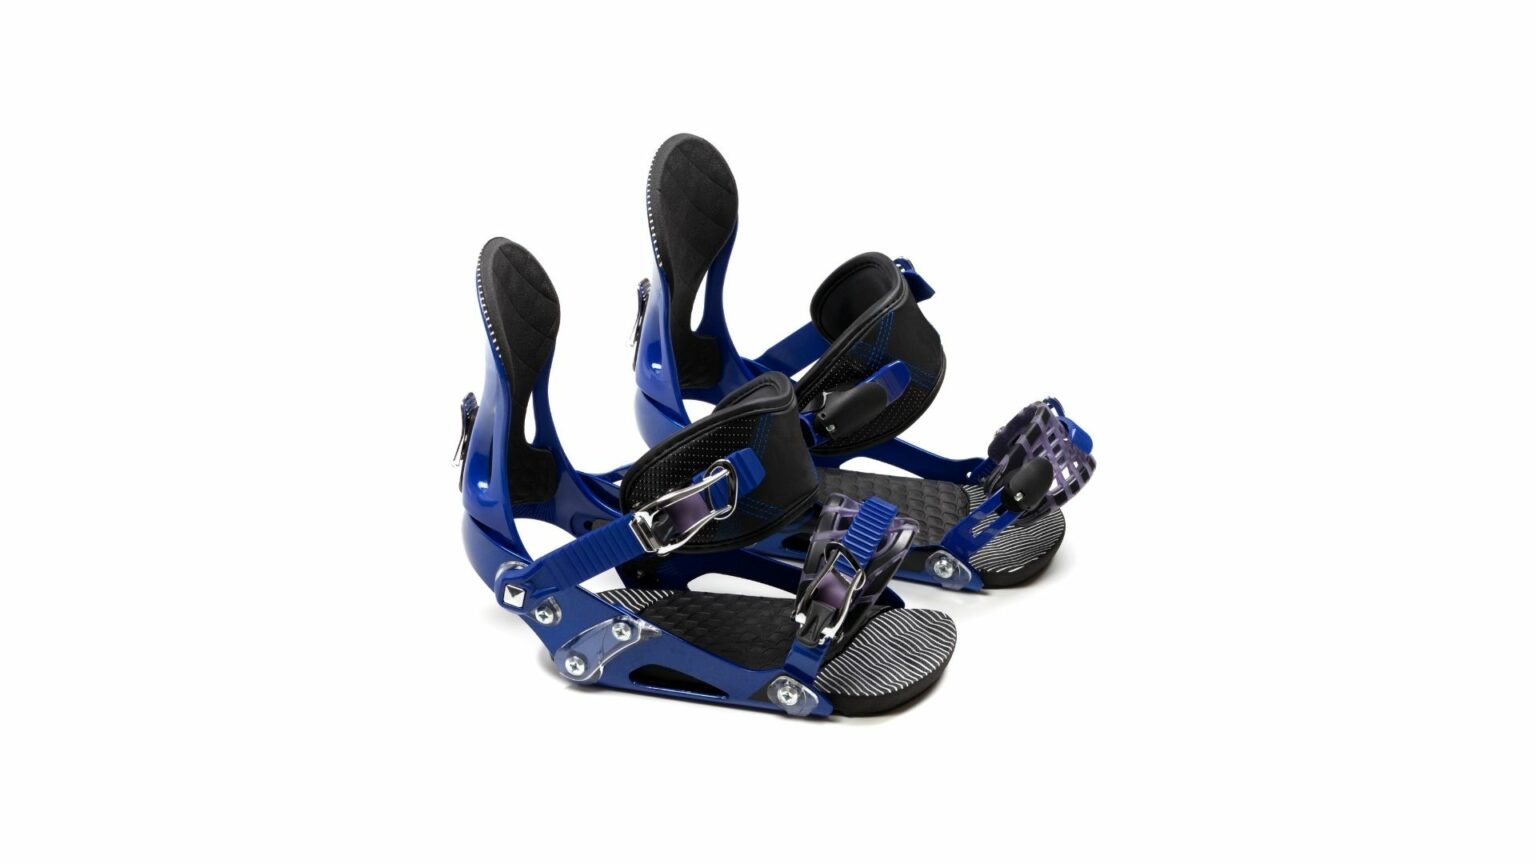
Two familiar entry styles are:
- Strap-in — separate ankle and toe straps secure the boot. This common design offers a wide range of fits and adjustments, although fastening both straps takes a little time.
- Rear-entry — the highback folds down so you can slide your boot into place, then closes behind it. Entry may feel quicker for some riders, but fit, boot shape and available adjustments vary by model.
Other quick-entry systems are available too. Whichever style appeals to you, test it with your own boots and check the mounting system before ordering.
Construction of Snowboard Bindings
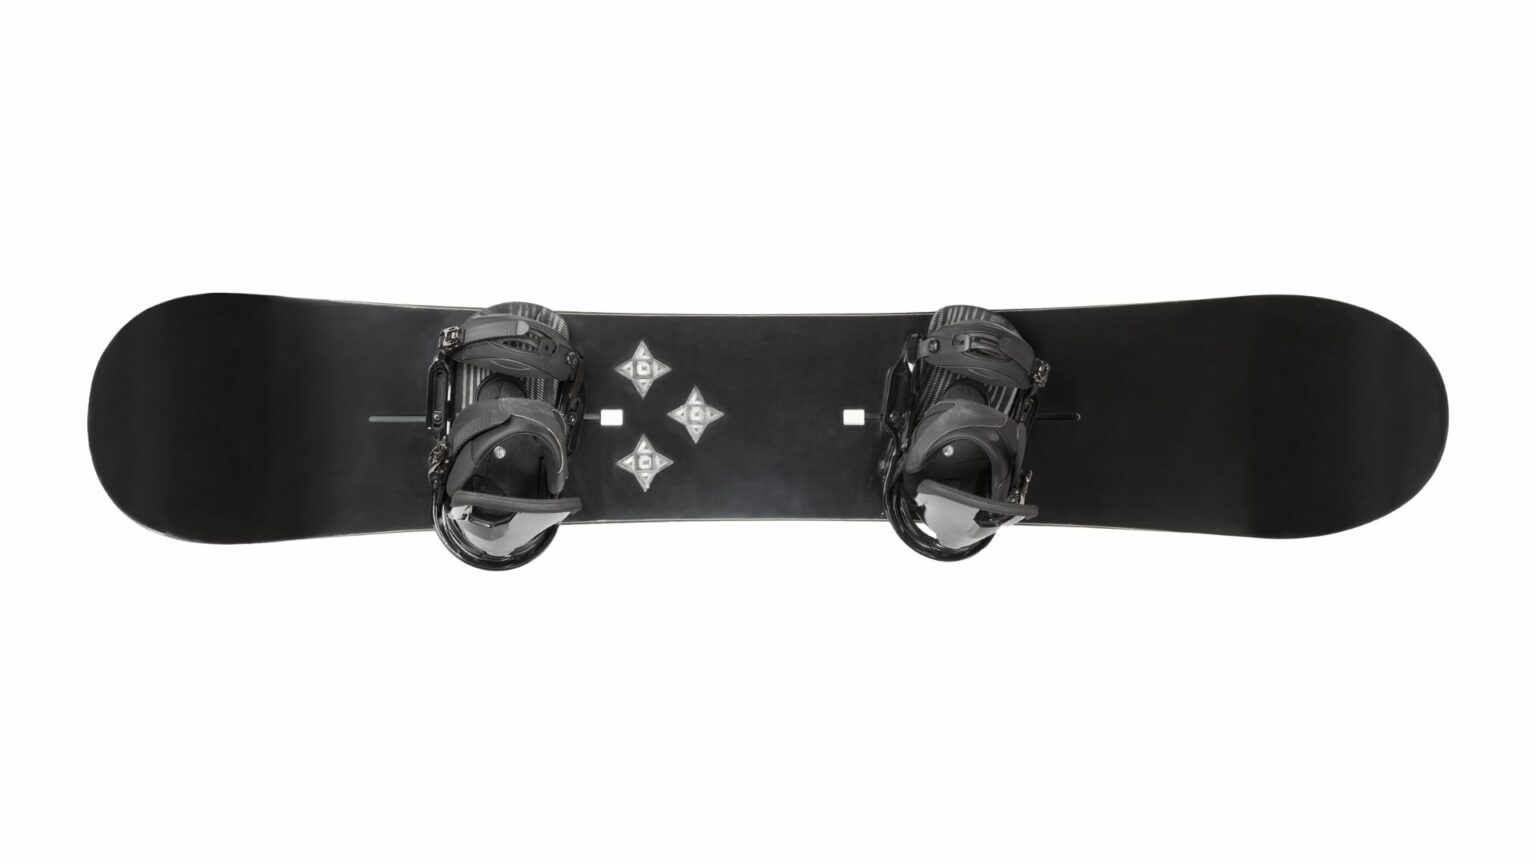
A typical binding combines a baseplate, highback, ankle strap, toe strap, buckles and mounting hardware. Each part plays a role: the baseplate anchors the binding to the board, the highback supports the heel-side turn, and the straps keep your boot in position. Check that the parts feel sturdy, adjust smoothly and can be serviced or replaced if needed.
Streps
The ankle strap holds your boot against the highback and heel cup. It should feel secure across the upper part of your foot without creating a painful pressure point. Many bindings let you change the strap position or length to better match your boot.
The toe strap helps keep the front of the boot centered. Some are designed to wrap over the toe cap, while others can sit across the top of the boot. Follow the binding maker’s instructions and choose the position that stays secure without excessive tightening.
Before you ride, fasten both straps and gently flex your knees. Your heel should stay seated, and the straps should not dig into your foot. If a buckle reaches the end of its adjustment range or a strap sits at an awkward angle, try another binding size or model.
Snow and ice can collect around ratchets during a long day. Brush them clear before fastening, and replace damaged straps or buckles rather than relying on a loose connection. Small fit adjustments can make a noticeable difference in comfort.
Highbacks
The highback is the upright support behind your boot. It helps transfer pressure to your heel-side edge. Its shape, height and flex affect comfort and response, so check how it meets the back of your own boot rather than choosing by appearance alone.
- A firmer highback can feel more direct during strong heel-side turns.
- A softer highback may allow more movement for relaxed riding or park laps.
- Forward lean adjusts the highback angle. Start with the manufacturer’s guidance and make small changes until your stance feels natural.
- Check that the highback is positioned correctly and does not rub uncomfortably against your boot.
A good fit matters more than maximum stiffness. If a highback presses into your calf or prevents a comfortable knee bend, consider adjusting it or trying another model.
The Base
The baseplate attaches the binding to the snowboard and supports your boot. A secure fit, a compatible mounting disc and comfortable footbed are more important than any single material claim. Confirm that the included hardware suits your board before installation.
- Footbed cushioning can reduce vibration and improve comfort on firm snow or repeated landings.
- Adjustable heel cups or footbeds, where available, help center different boot shapes over the board.
- Mounting discs and insert patterns vary. Check the current compatibility information for both the binding and the board.
- Some footbeds have a slight angle, often called canting. Whether it feels comfortable depends on your stance and personal preference.
After mounting, check that the screws are tightened to the manufacturer’s instructions and inspect them periodically. Avoid forcing hardware that does not match the inserts.
Buckley
Buckles and ratchets let you tighten and release the straps. They should move smoothly, hold securely and be simple enough to use with cold hands or gloves. Try them with your own boots before deciding whether a binding feels convenient.
- Fasten each strap until it feels snug, not painfully tight. Extra clicks cannot compensate for the wrong binding size.
- Check that the ratchet teeth engage cleanly and the ladder straps show no cracks or excessive wear.
- Look for replacement straps and buckles if you expect to keep the bindings for several seasons.
If a buckle sticks, clear away snow and ice and inspect the parts. Replace worn components rather than riding with a strap that might loosen unexpectedly.
Compatibility of Bindings With Snowboards Boots
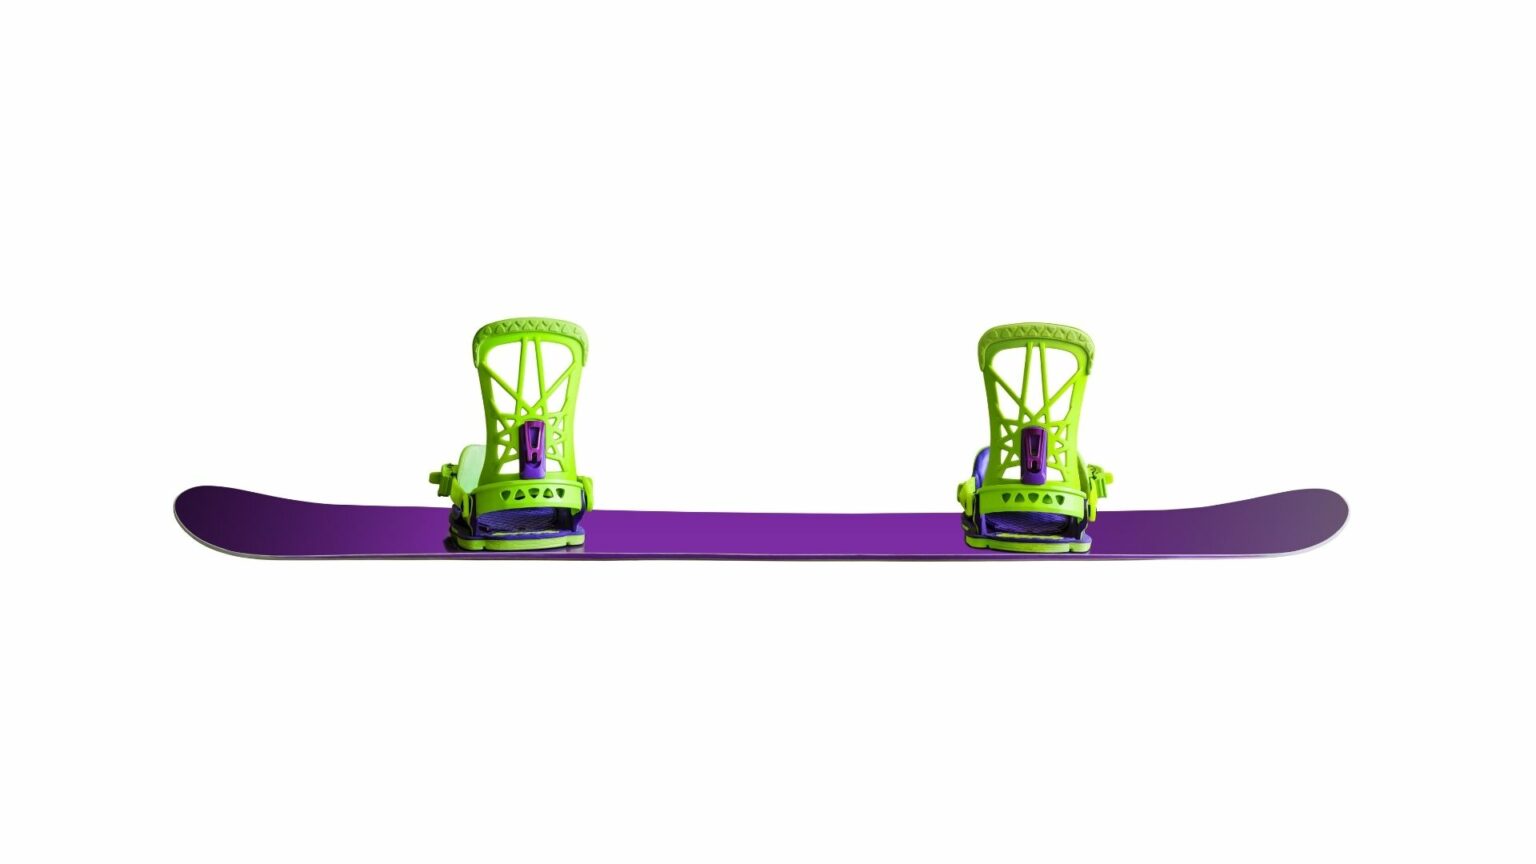
Boot fit is the first compatibility check. Use the binding manufacturer’s size chart for your specific boot size, then test the actual boot in the binding if possible. Size labels alone are not a guarantee: two boots of the same marked size can have different outer dimensions.
With the boot in place, check that the heel sits firmly in the heel cup and the sole rests comfortably on the footbed. The ankle and toe straps should meet the boot in the intended spots and close without maxing out their adjustments.
Centering also matters. Once the binding is mounted, your boot should sit over the board in a way that avoids excessive toe or heel overhang. The ideal position depends on boot shape, stance angles and board width, so consult the board and binding instructions if you are unsure.
Next, check board compatibility. Different boards use different mounting patterns, and some binding discs require specific hardware or an adapter. Compare the exact model specifications rather than assuming every binding fits every snowboard.
You do not attach binding screws to your boots. Mounting screws secure the binding to the board’s designated inserts. Follow the manufacturer’s instructions, use the correct hardware and avoid overtightening.
Finally, step in and fasten the straps while wearing the socks you ride in. Stand in a natural stance and bend your knees. Your feet should feel supported without numbness, pinching or obvious heel lift.
If anything feels off, adjust the binding or try another size. A comfortable, secure fit is worth more than a feature list or a discount on a model that does not work with your boots.
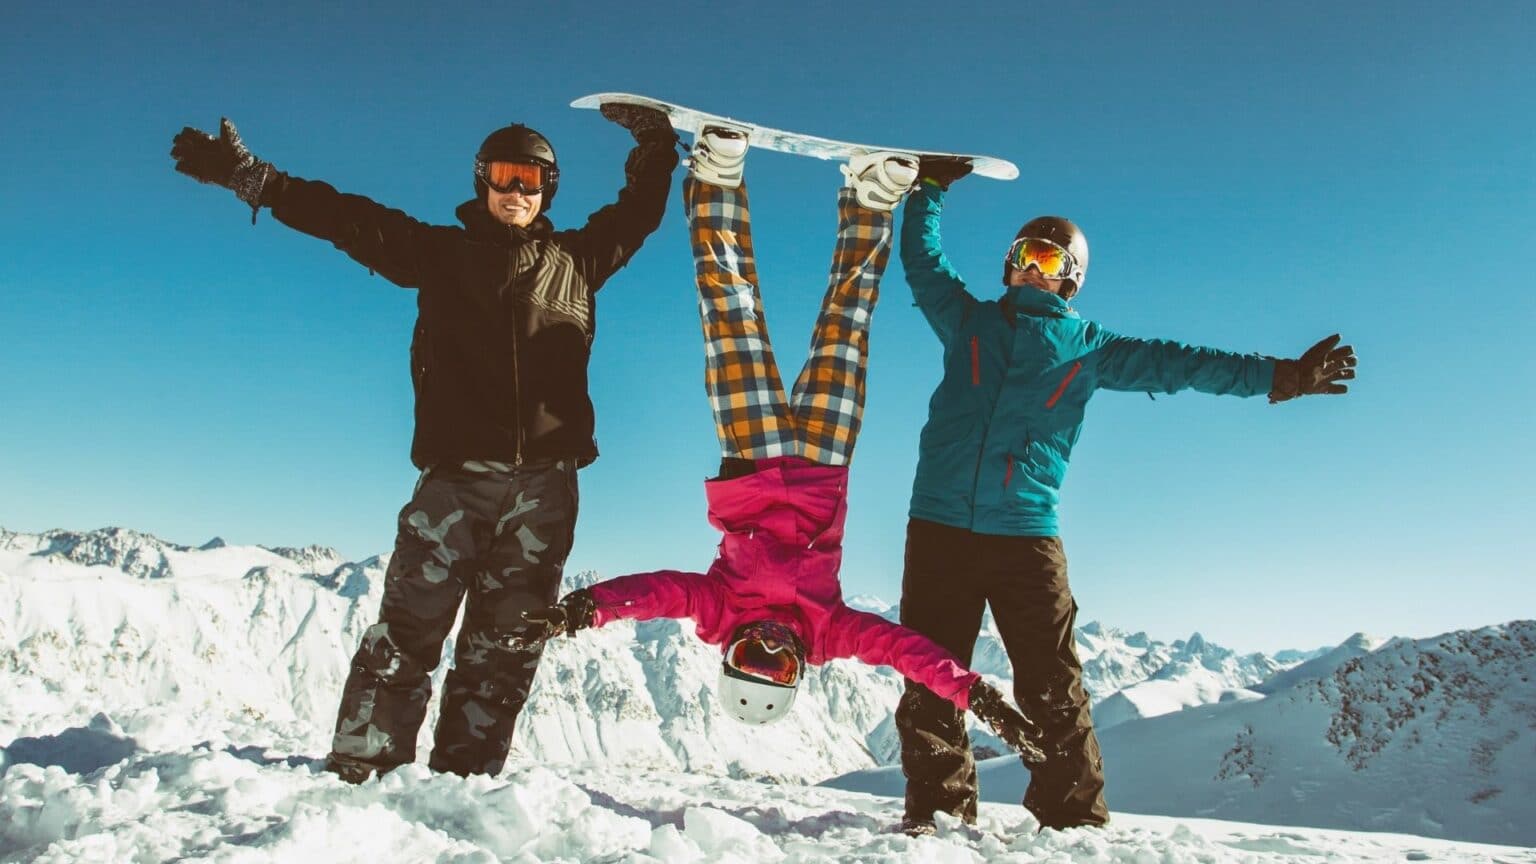
Choosing bindings comes down to a few practical checks: do they fit your boots, work with your board, and feel right for the terrain you actually ride? A comfortable medium-flex option suits many riders, while softer or firmer models may make sense for more specific preferences.
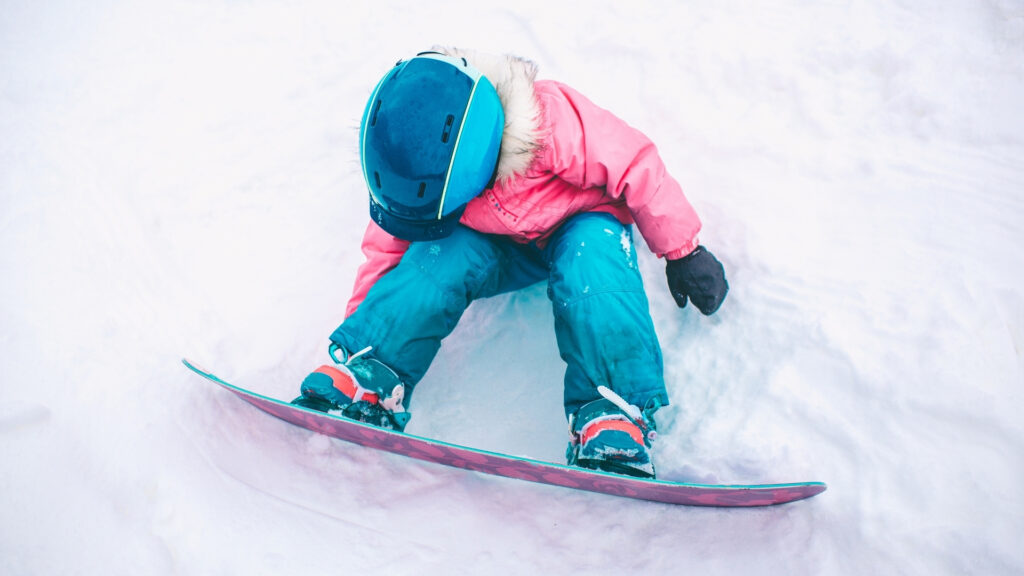
Before your first run, make sure the mounting hardware is secure, both straps fasten properly, and your boots sit centered in the bindings. Recheck the setup as you ride and replace worn parts when needed. If you are shopping for a child, pay particular attention to current boot fit instead of buying oversized bindings to grow into.
You Also May Like
Copyright 2026 © Top Sports For Kids
Topsportsforkids.com is a participant in the Amazon Services LLC Associates Program, an affiliate advertising program designed to provide a means for sites to earn advertising fees by advertising and linking to Amazon.com.